0% finance available
0% finance available

Enhancing your home can revitalise your living area, though it often involves expenses. Opting for premium materials not only enhances aesthetics but also ensures durability, as exemplified by aluminum bifold doors.
Undertaking home improvement installations yourself can significantly cut costs, but only if you possess the necessary skills and expertise. Inadequate installations can drastically shorten product lifespans and potentially nullify warranties. If you're considering installing bifold doors, consult the guide below. It outlines the essential tools and materials needed, along with a comprehensive step-by-step installation process.
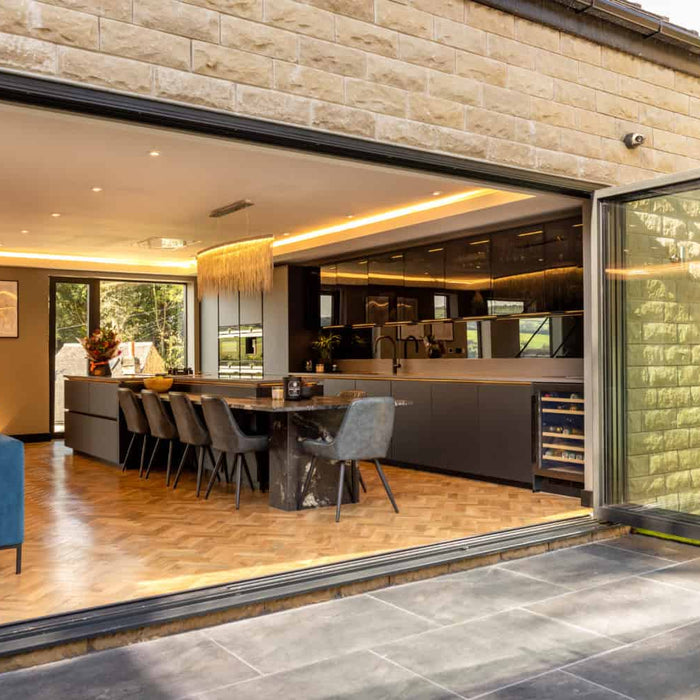
Adding bifold doors can really change how much natural light you get and how well your home flows. External ones give you more access to your outdoor space and let in lots of sunlight.
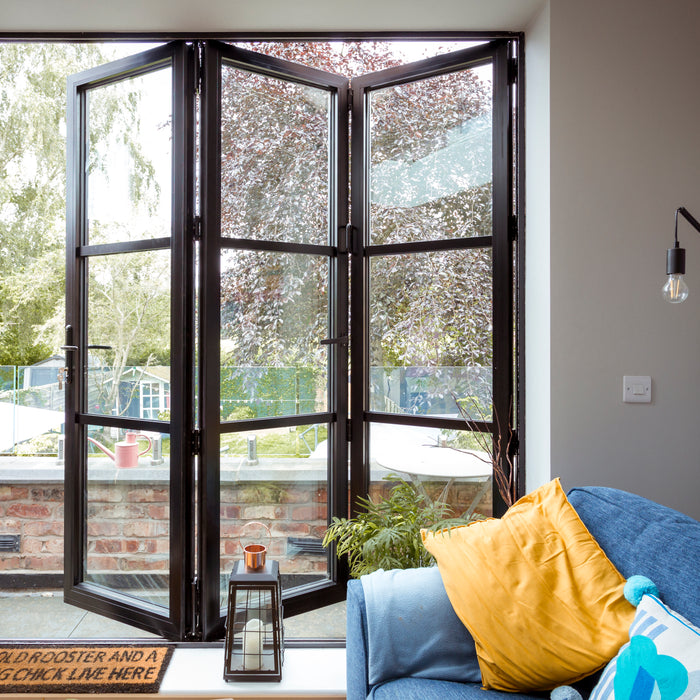
Inside your home, bifold doors offer flexibility. You can close them to divide rooms or open them up for an open-plan feel.
Installing bifold doors isn't too complicated, but it's still important to think things through beforehand. Here are some key points to consider:
You might not need permission for every bifold door installation, but some situations might call for it.
For external bifold doors, here are instances where you might need permission:
The condition of your property plays a big role in how straightforward a bifold door installation will be.
For internal installations, ensure that brickwork surfaces are level and lintels are in good shape before starting.
Even if you feel confident in your ability to install the doors, it's essential to assess whether the property is in suitable condition to proceed.
Accurate measurements are crucial for a successful bifold door installation.
While it may sound obvious, double-checking the width and height is essential to avoid errors.
When selecting bifold door sizes, remember to account for the door frame, fittings, and track dimensions.
It's important not to overestimate your capabilities. If uncertain, it's best to opt for professional installation.
While DIY installation can save money, consider the potential cost of replacing incorrectly installed doors.
Preparation is key to a successful installation. Here's what you'll need in terms of tools, materials, and safety equipment for both internal and external bifold doors.
Below are the steps to securely install your bifold doors:
It's crucial to prep the installation site. This involves leveling brickwork and verifying accurate measurements.
Ensuring you have all necessary tools and materials ready beforehand will streamline the process.
Before commencing, confirm that all door components are present.
Now, assemble the door frame. You can do this in two sections before joining them together. Attach the door jambs and fix the sills using fixing screws.
Ensure the measurements of the completed door frame align with your planning to prevent issues.
Consider how you want your doors to open as it impacts your home's flow. Choose whether the doors open from the left or right.
Next, assemble your top track with your preferred bifold opening options in mind before securing it to your assembled door frame.
Now, you can mount your assembled door frames. Ensure the sill faces outward. It's crucial for the frame to be square and aligned.
Once the frame is secured, use silicone sealant to seal around the base and jamb joints. Then, permanently attach the top track to your frame.
Sealing your door frame is vital for weather protection, especially considering the varied weather in the UK. This step is critical for the performance and efficiency of your bifold doors.
Fit weather seals around the frame and brush the seal into the door's frame head.
Prior to installing the pivot door, ensure the drop bolts, which are essential for securing the door, are fitted.
Follow the manufacturer's instructions to install the pivot hinges. Choose the pivot block and door track and drill them into place.
Lift the door onto the bottom pivot with the assistance of another person. Ensure the door is straight and securely attached to the bottom pivot.
Proceed to install the middle doors in a similar manner and attach them to the frame.
Make necessary adjustments to ensure all doors are properly fitted and move smoothly.
Enhance your home's security by installing the lock system into the frame jamb. Mount the door handles. Finish by fitting the magnetic catches and doorstop.


